FAQs about gluten-free sourdough: 7 helpful tips
Share
Are you curious about gluten-free sourdough but not sure where to start? Here are answers to some frequently asked questions—plus 7 essential tips to help you succeed with gluten-free sourdough baking.

Tip 1: Before you start
Before you begin baking, your sourdough starter needs to be in top condition. To ensure this, you should refresh it beforehand:
-
Refresh & resting time: Feed your sourdough starter and let it rest, covered, until it has doubled or tripled in volume – then it’s ready to use.
- No fridge before baking! Your starter should be active when baking, so do not store it in the fridge if you plan to use it immediately.
Tip 2: For planned baking
If you plan to prepare dough on Wednesday, refresh your starter on Tuesday. If you bake on a regular day each week, it’s a good idea to schedule your routine refresh for the day before. This ensures your starter is fresh and active when needed.
Tip 3: The right water for your sourdough starter
The water you use has a significant impact on your sourdough starter’s activity. Keep these key points in mind:
-
Chlorine-free: Tap water often contains chlorine, which can hinder yeast and bacteria. Let it sit for a few hours or use still mineral water.
-
Temperature: Lukewarm water (around 25–30°C) supports fermentation. Cold water slows the process, while hot water (above 40°C) can harm microorganisms.
- Water hardness: Soft water makes dough more elastic, while hard water results in a firmer texture. Adjust the water or flour amount if needed.
Choosing the right water creates the best conditions for your sourdough starter to thrive!
Tip 4: The right climate for your sourdough starter
Apart from water, the environment also plays a crucial role in a successful sourdough starter. Pay attention to the following factors:
-
Temperature: The ideal range is 20°C to 28°C – this is when your starter is most active. Below 20°C, fermentation slows down, and above 35°C, microorganisms may be damaged.
-
Light: Direct sunlight can overheat the starter and accelerate fermentation too much. A shaded spot is best.
- Humidity: Too dry, and your starter may dry out; too humid, and it could become too wet. A balanced environment helps keep it stable.
By ensuring these conditions, your sourdough starter will stay strong and active!
Tip 5: Storing and reactivating your sourdough starter
Proper care makes all the difference – and it’s worth the effort! With regular refreshment, your starter stays active and ready for baking, and with the right storage, you can revive it at any time.
-
Fridge storage: If you don’t need your sourdough for a while, store it in the fridge. The ideal temperature is 3–5°C, with 1–2°C keeping it stable for longer. Temperatures above 6–8°C will age it faster.
- Forgotten sourdough? No problem! If your starter has been unused in the fridge for 2–3 weeks, it’s not lost. However, it will need a little boost. Feed it two to three times in a row until it forms bubbles and increases in volume. Then, it’s ready to bake with again!
Tip 6: Making your sourdough starter last – a simple preservation method
Sometimes, you just don’t have the time to care for your starter regularly – whether due to holidays or a baking break. With this method, you can store it for several weeks without losing it.
Preserving sourdough for longer storage
-
Reduce water: Use half the usual amount of water, just enough to mix the dough without making it sticky.
-
Slow down microorganisms: Less water slows down yeast and bacteria activity, allowing their food source to last longer.
- Cool storage: Place the starter in the fridge at 2–5°C. This keeps it stable for 3–4 weeks without feeding.
Reactivating sourdough after a break
-
Return to normal feeding: After a break, start feeding it again with the usual amount of water.
- Revival: Feed it two to three times in a row until it forms bubbles and rises properly. Then, it’s ready for baking again!
With this method, your sourdough starter can rest safely – and after a quick refresh, you can get back to baking!
Tip 7: Sourdough hygiene – cleanliness for the best results
Good hygiene is essential to keep your sourdough starter healthy and stable. Dirty hands or utensils can introduce unwanted bacteria, leading to spoilage or mold. Follow these simple steps to avoid problems:
-
Clean hands – the first step: Wash and dry your hands thoroughly before working with your sourdough to prevent contamination.
-
Keep baking utensils hygienic: All tools, such as bowls and spoons, should be thoroughly washed with hot water to remove residues and eliminate unwanted bacteria.
- Prepare your work surface: Make sure your work area is clean and free from food particles to prevent foreign bacteria from entering the starter.

Final thoughts
Maintaining proper hygiene is the key to a successful sourdough starter! By keeping your hands, utensils, and workspace clean, you ensure your starter remains healthy and your bread turns out perfect.
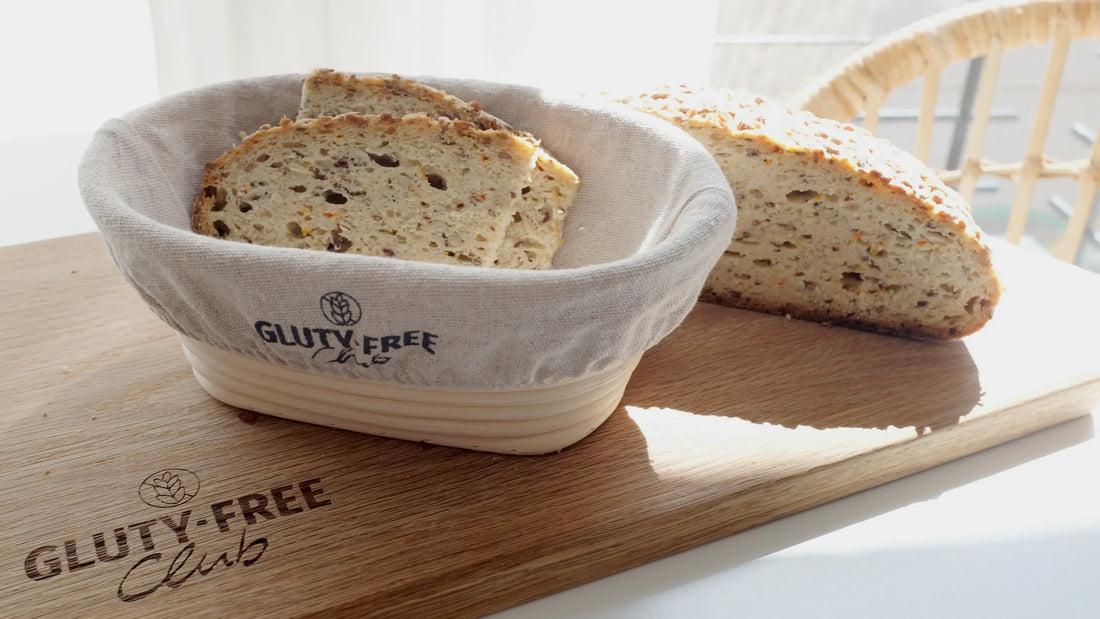
To make sure your beautiful homemade bread is not only protected from cross-contamination but also looks great on the table, you’ll find the perfect bread basket in our shop – ideal for gluten-free sourdough!
